There are two ways to upgrade the Zerto Virtual Appliance Manager (ZVM): online and offline. The offline upgrade method itself has two different approaches. In this article, I will explain both offline upgrade methods in detail. I will also briefly mention the online upgrade process; however, it will not be implemented here, as the final result is the same.
Before starting the upgrade process, please make sure to take a snapshot or backup of the ZVM, pause all VPG jobs, and then follow the steps below.
Accessing the Upgrade Menu
Log in to the ZVM interface and click the burger menu in the top-right corner. Select Management Console. On this page, click Appliance Upgrade from the left menu. Here, you will see the currently installed ZVM version.

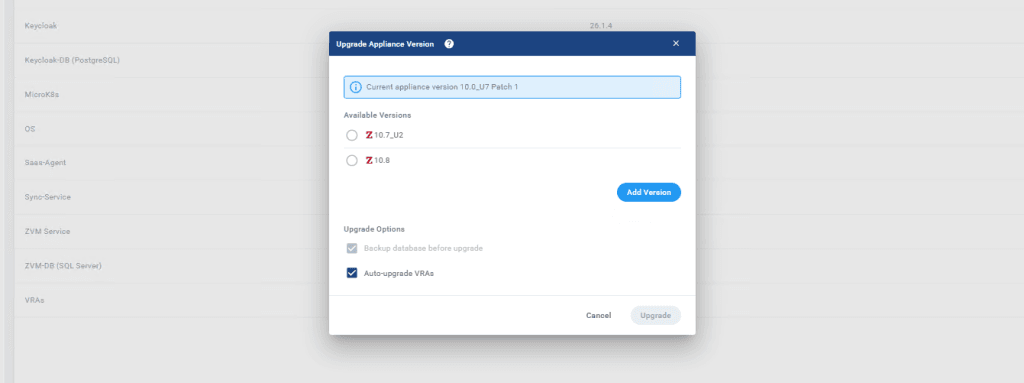
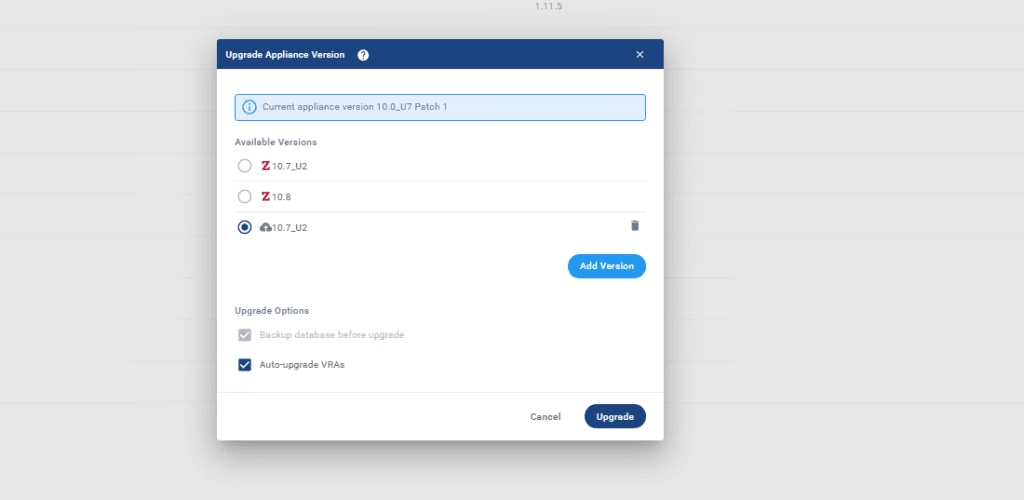
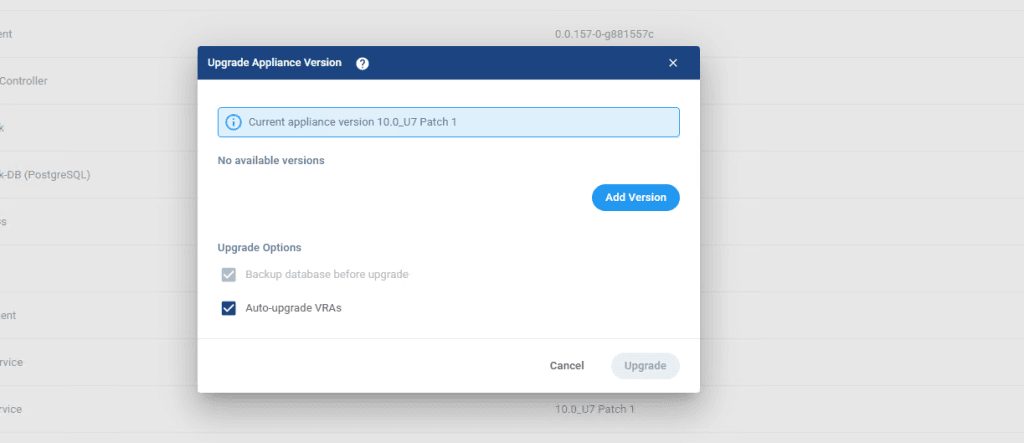
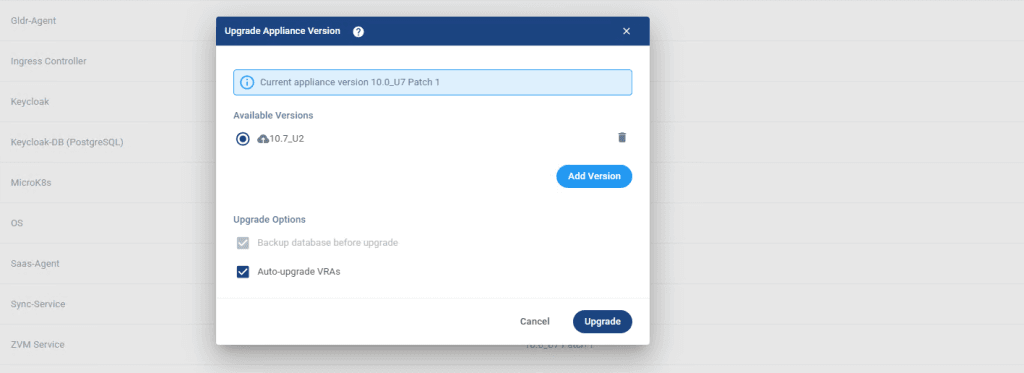
Click Upgrade button on the right and A pop-up window will appear showing the current version and the available upgrade versions.
If you select an available version and click Upgrade, the selected version will be downloaded and the upgrade process will begin. During this process, the VRAs will also be upgraded if Auto Upgrade VRAs is selected.
Note:
A VRA (Virtual Replication Appliance) is a custom, lightweight Linux-based virtual machine with minimal disk, memory, and CPU usage. It has enhanced security due to the limited number of installed services.
You cannot upgrade ZVM directly from your current version to the latest version. Version upgrades must follow Zerto’s supported upgrade path, meaning there must be intermediate versions between the current and target versions.
Additionally, the compatibility matrix must be reviewed to ensure that the hypervisor version and the target ZVM version are supported.
You can check compatibility at the following link:
https://www.zerto.com/myzerto/support/interoperability-matrix/
In our infrastructure, we use VMware vSphere, and the versions shown in the upgrade pop-up are supported.
During an online upgrade, the files are downloaded to the following directory on the ZVM:
/var/log/zerto/upgrade-files/The upgrade process starts by upgrading the ZVM itself, followed by the VRAs if auto-upgrade is enabled. Since our main focus is the offline upgrade, we will skip further details of the online method.
Offline Upgrade – Method 1 (Manual File Upload)
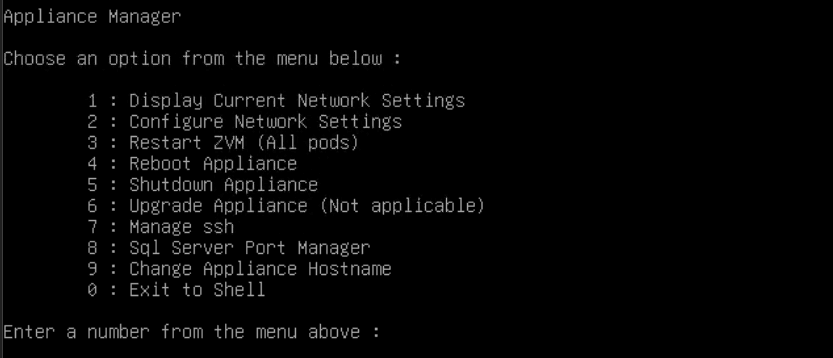
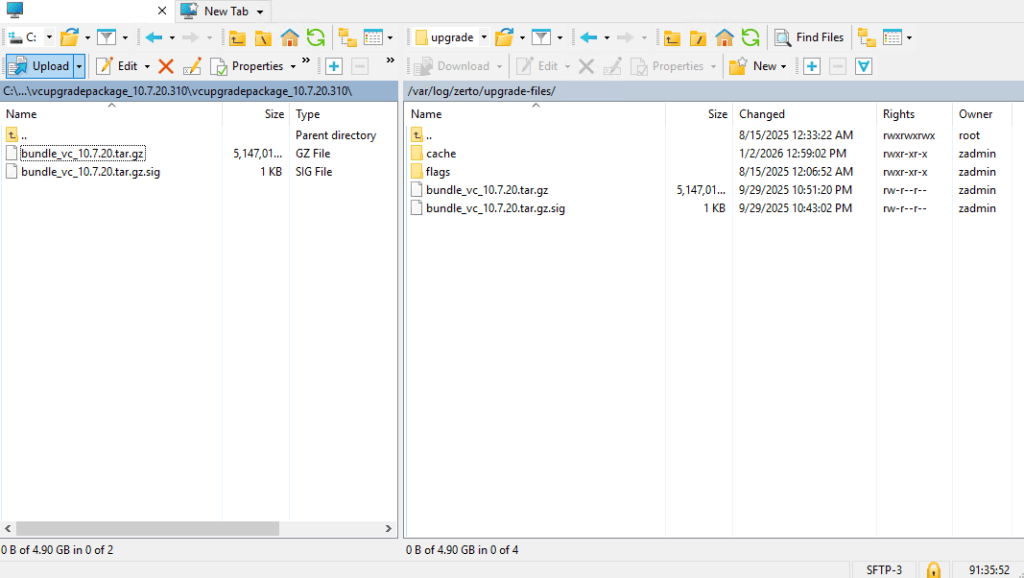
Log in to the ZVM Appliance through vCenter and sign in using the zadmin account. From the menu, select option 7 to enable the SSH service, as we will upload the offline upgrade files.
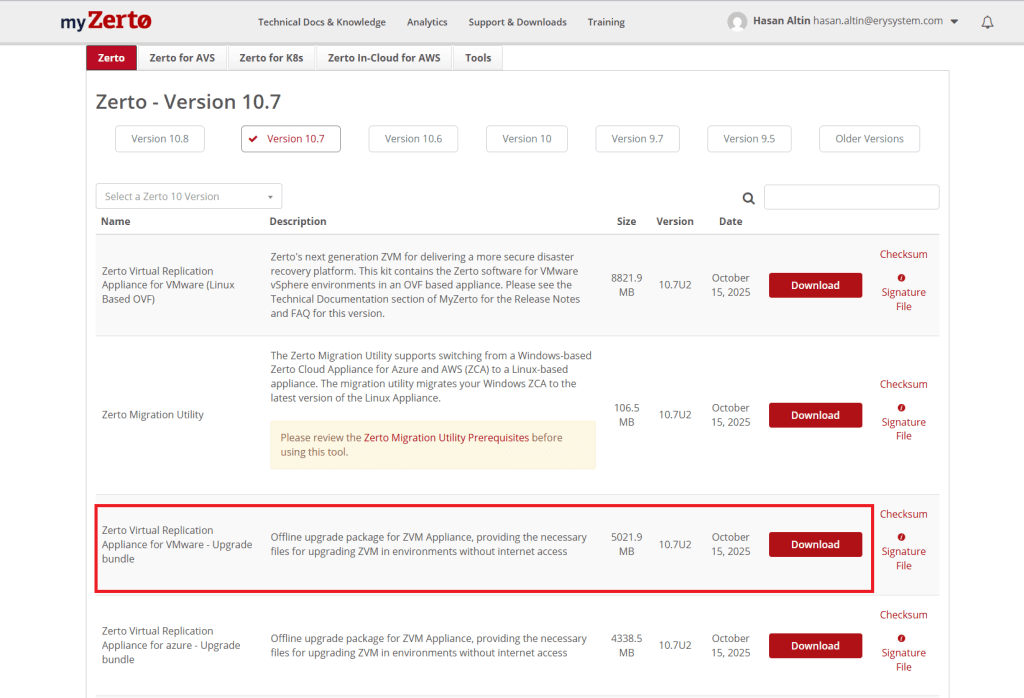
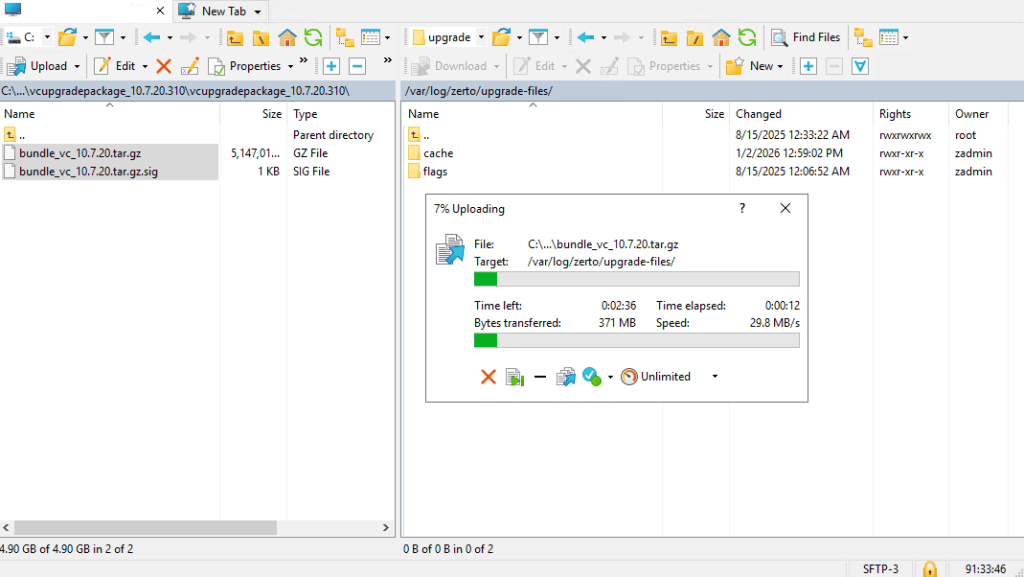
In this demonstration, we are upgrading from Zerto 10.7 U1 to 10.7 U2. Upload the downloaded offline upgrade files to the ZVM using WinSCP or any alternative SCP client.
Once the files are uploaded, restart all ZVM services by selecting option 3 from the ZVM console menu.

After all services are running, refresh the Appliance Upgrade page in the Management Console:
https://zvmaddress/management/upgradeYou will now see a new available version listed and grayed out. This indicates that the offline upgrade files are detected in the upgrade directory.
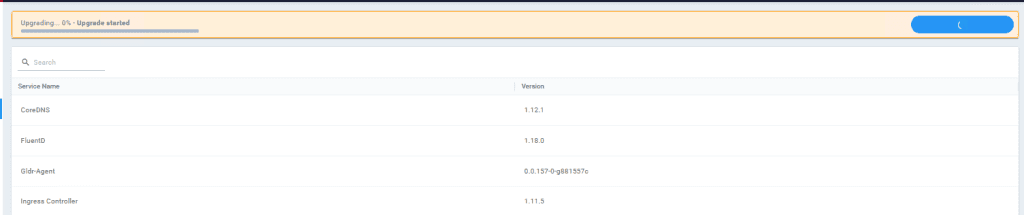


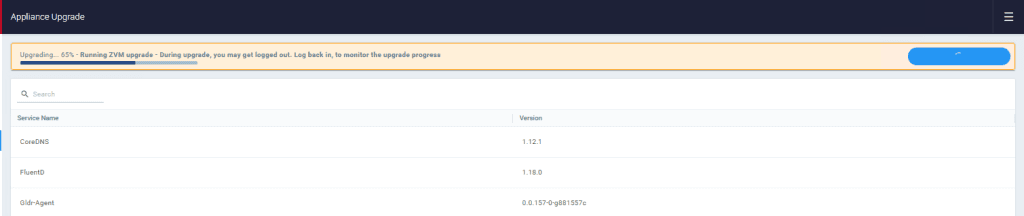
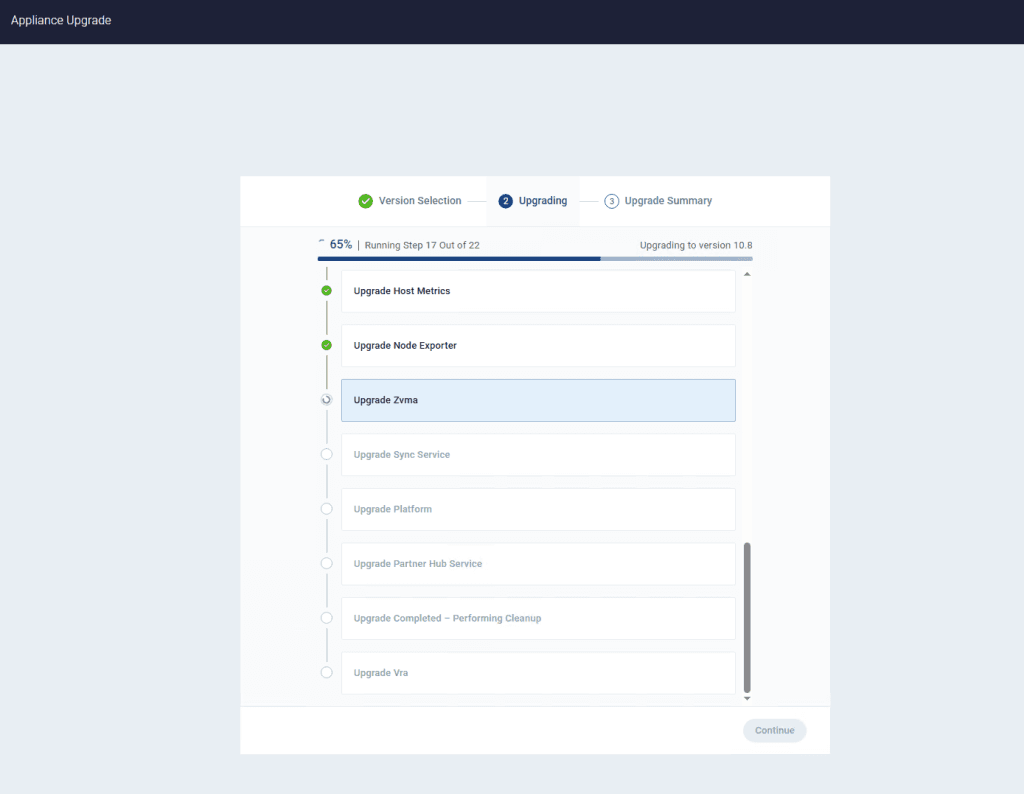
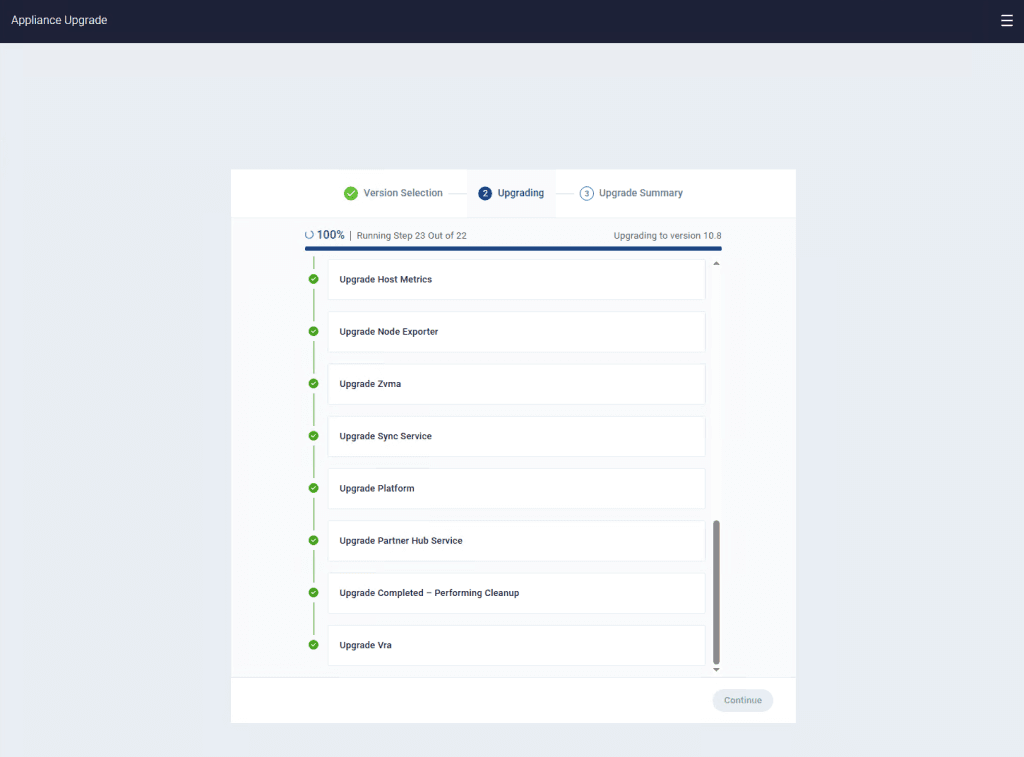
The upgrade process will start for the ZVM. Once the ZVM upgrade is completed, the VRAs will be upgraded automatically.


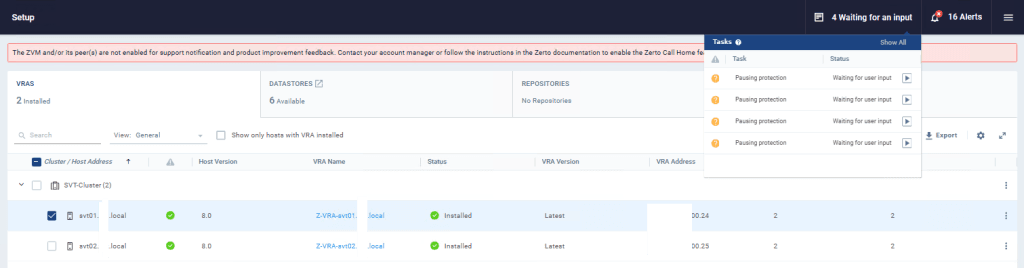
After the upgrade, one of the VRAs showed an issue. The host svt01 was reported as outdated, while svt02 was upgraded successfully.
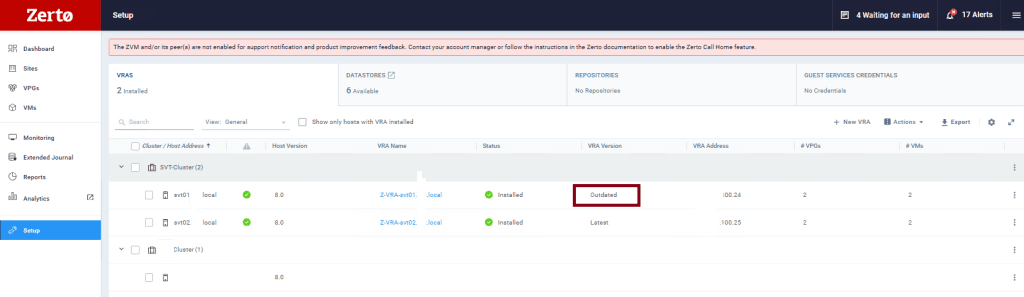
To resolve this, select the svt01 host, click the three dots, and choose Upgrade to manually deploy the VRA.
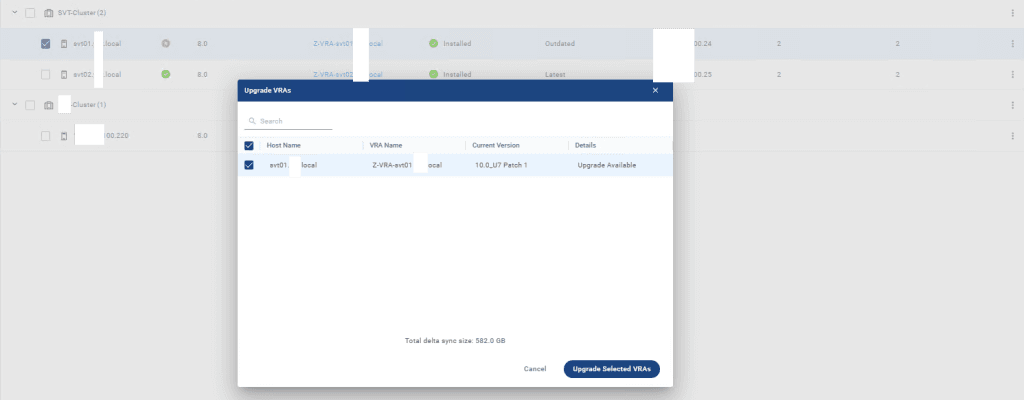
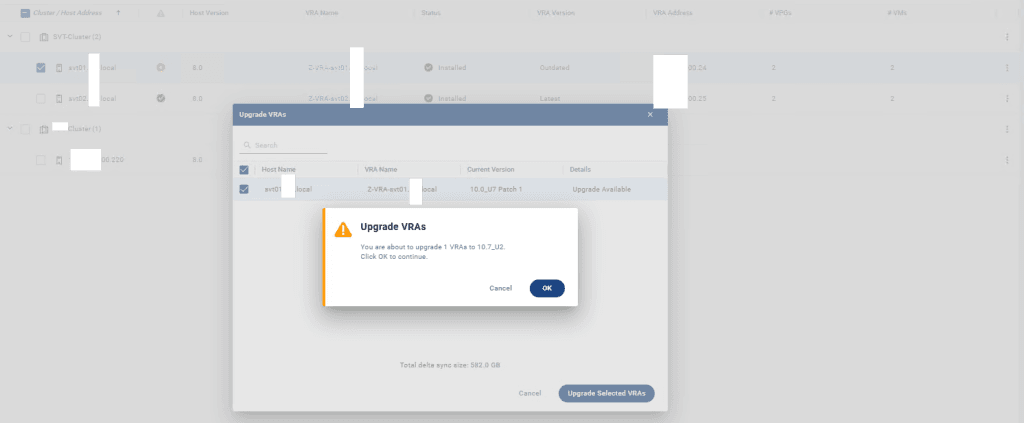
We started deploying VRA on svt01 and let’s check it out on vcenter to see what is happening over there.

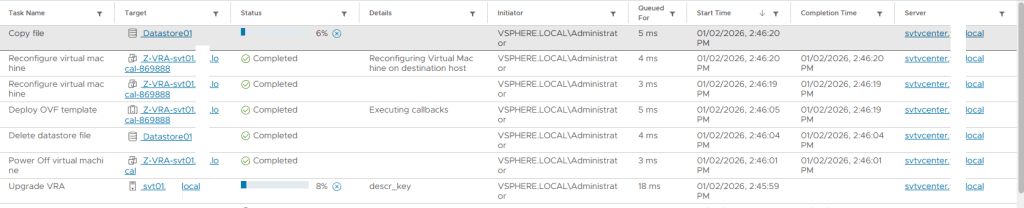
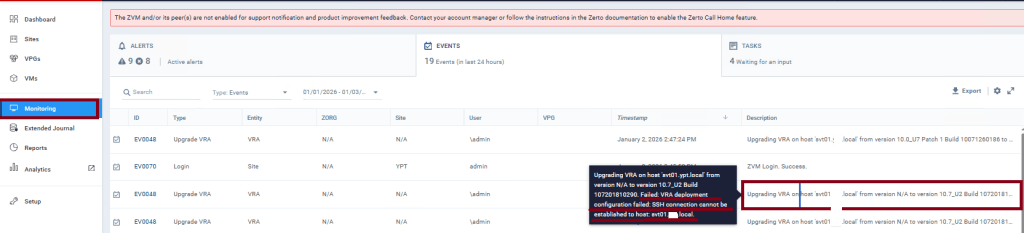
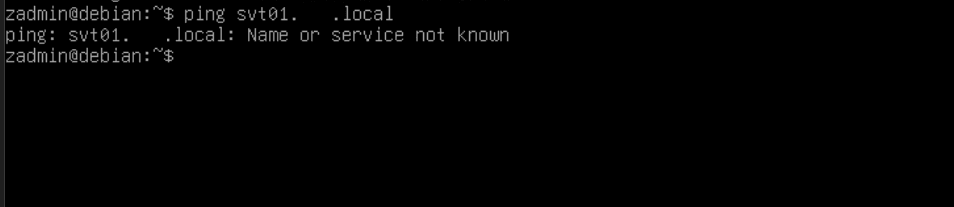
During deployment, I noticed that the ZVM could not connect to the svt01 ESXi host, causing the VRA deployment to fail. I logged in to the ZVM using the zadmin account, selected option 0, and tested connectivity using ping, which failed.
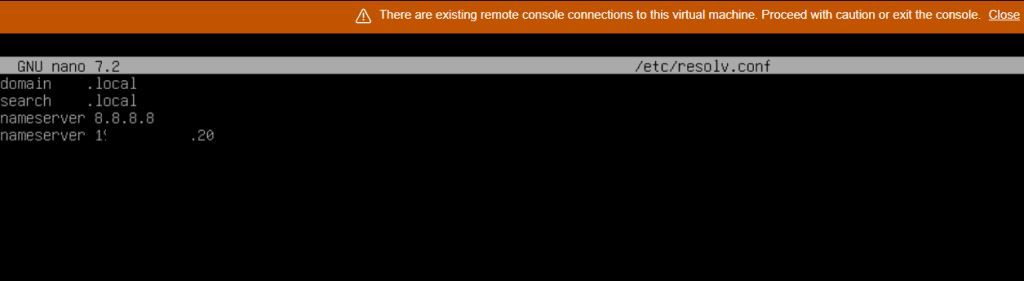
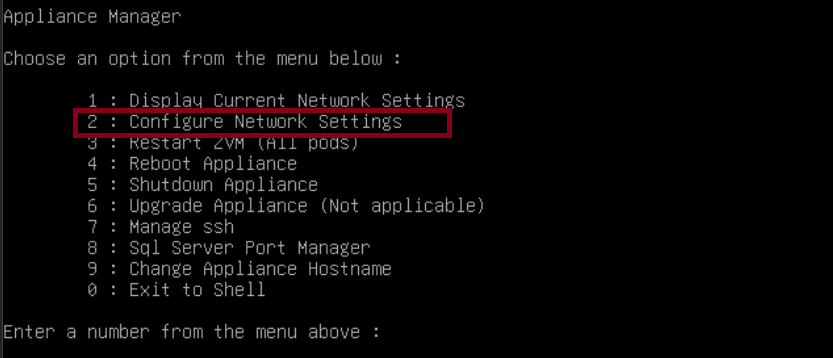
I then checked the /etc/resolv.conf file and noticed that Google DNS servers were configured unexpectedly. I removed them using the Appliance Manager and corrected the DNS configuration.

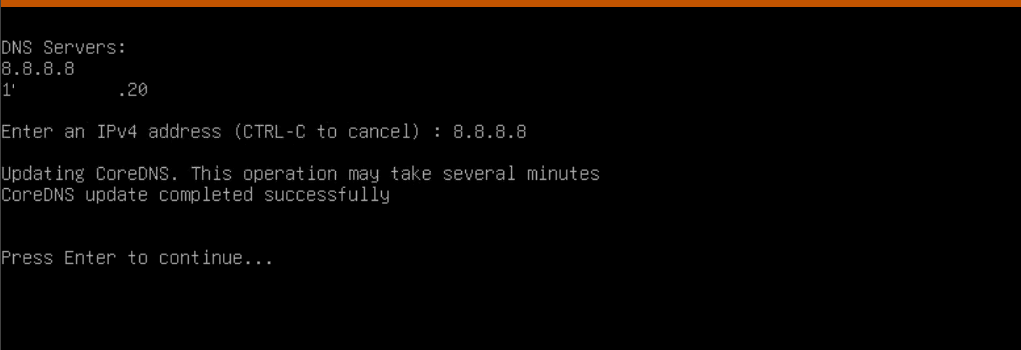
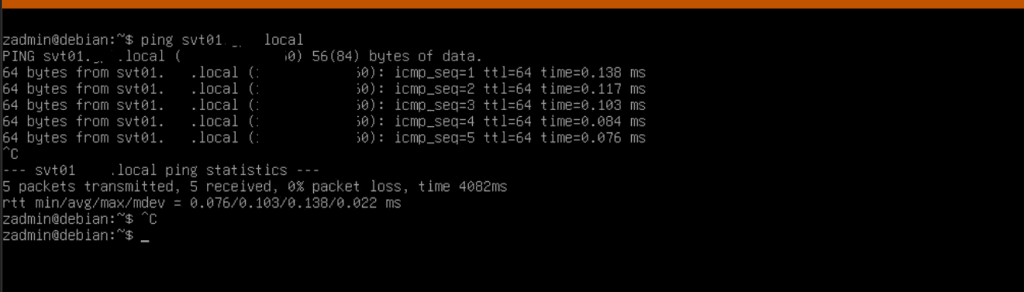
After DNS was fixed and connectivity was restored, the VRA deployment completed successfully.
Offline Upgrade – Method 2 (Local File Upload via UI)
The second offline upgrade method involves uploading the upgrade packages directly through the UI.
Click Add Version, then choose Local File. Upload the required .sig and .gz files.
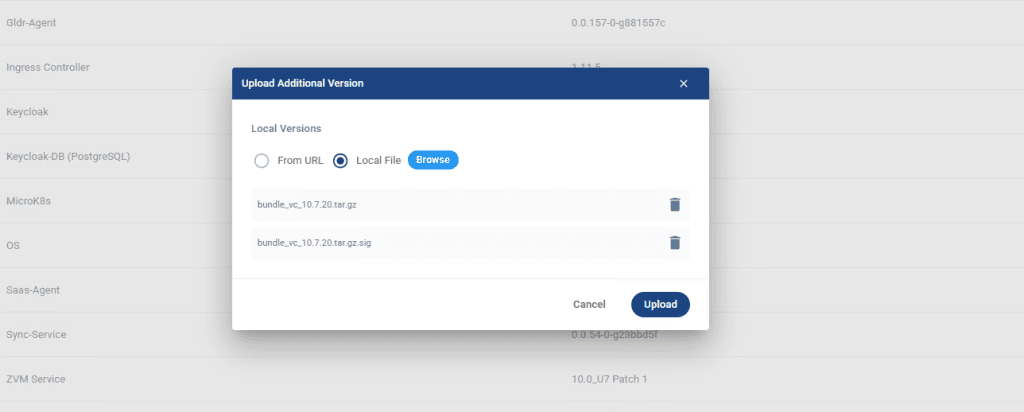

Once the upload is complete, start the upgrade from Zerto 10.7 U1 to 10.7 U2. The upgrade steps are identical for both offline methods.
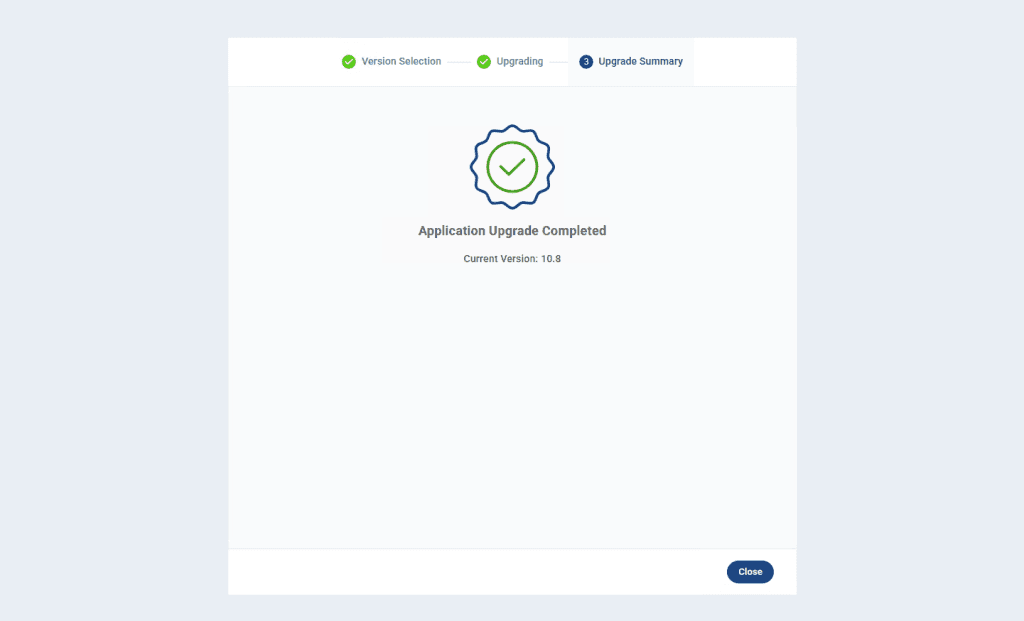
Newer Versions
Starting with Zerto 10.8, the upgrade workflow screens have slightly changed. I included screenshots in this demonstration to highlight these differences.


In this demonstration, I shared detailed steps and screenshots covering both offline upgrade methods. I also encountered a real-world VRA deployment issue, identified the root cause, and explained how it was resolved.
Online Upgrade Method
As stated at the beginning of this article, the online upgrade process follows a straightforward workflow and produces the same final result as the offline upgrade.
The online upgrade method is the simplest and recommended approach when the ZVM has direct internet access. From the Appliance Upgrade page in the Management Console, click Upgrade. A pop-up window will appear showing the currently installed ZVM version along with the available upgrade versions.
Select the desired version and click Upgrade. The ZVM will download the required upgrade files directly from Zerto’s repository and automatically initiate the upgrade process.
During the online upgrade, the downloaded files are stored in the following directory on the ZVM appliance:
/var/log/zerto/upgrade-files/The upgrade process is executed in the following order:
ZVM services are upgraded first.
If Auto Upgrade VRAs is enabled, the Virtual Replication Appliances (VRAs) are upgraded automatically after the ZVM upgrade completes.
Once the upgrade process is finished, verify the new ZVM version from the Management Console and confirm that all VRAs are running the expected version.
I hope this article helps you successfully upgrade your Zerto infrastructure with confidence.
Wishing you a successful day!
Best regards,
Hasan